One of the more intriguing Side Jobs in Cyberpunk 2077 is a series of missions called Epistrophy. These all involve tracking down rogue Delamain cabs in various locations throughout Cyberpunk 2077.
While the map can help guide you to general areas, you’ll often have to get closer once in the right region to actually get a beat on the location of the specific Delamain cab you’re looking for. You’ll need to be in a car of your own, as most of these are impossible on foot.
In the run described here, they were completed on a motorcycle which tends to have more maneuverability, but it also comes with the risk of crashing and launching yourself forward off the vehicle. Whatever vehicle you prefer, you’ll need some wheels.
How do you unlock the Delamain cab Side Jobs?

The Epistrophy series of Side Jobs are unlockable fairly early in Cyberpunk 2077. After you’ve completed the major heist with Jackie Welles and acquainted yourself with your inner Johnny Silverhand, you’ll be given a mission to head to the parking garage near your apartment and retrieve your vehicle.
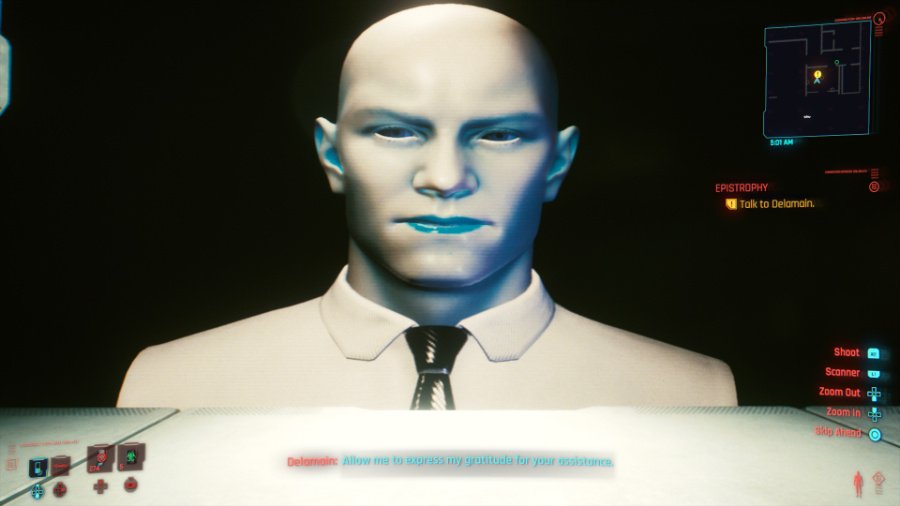
When you hop in the vehicle, a rogue Delamain cab will crash into you and speed off with no warning at all. After making contact with Delamain through your phone, you’ll be instructed to head to the Delamain HQ regarding the accident.
Once there, you’ll be compensated for the damage to your car, which will also have been repaired by this point. However, you’ll also meet with Delamain about an issue he’s having recovering what are referred to as his divergent forms.
Once you agree to help him, you’ll be given seven different Side Jobs in your Journal that are scattered all throughout Cyberpunk 2077. The Epistrophy missions all involve tracking down a rogue Delamain cab and convincing it to return to reconnect and return to Delamain HQ.
Rewards for completing all of the Delamain cab Side Jobs
For anyone hoping you’re going to be gifted a Delamain cab or something special like that, you’ll be sorely disappointed. However, that doesn’t mean these missions are not worthwhile by any means.
These are all manageable tasks, and you can manage to knock them out in quick succession with relative speed. You’ll get experience, street cred, and eurodollars for completing each of the individual missions.
Once you’ve completed all seven, you’ll be summoned back to Delamain HQ. Upon arrival, you’ll simply need to return the scanner you used for these missions to complete the core Side Job and get more experience, street cred, and eurodollars for your work.
In the run described here, my character began at Level 20, had 36 Street Cred, and had 2,737 eurodollars. After completing each of them in succession, without doing other missions in between, my character was Level 21, had 37 Street Cred, and had 11,750 eurodollars. This may vary if you begin them at a lower or higher level, but that was my experience.
Every Delamain Cab Location in Cyberpunk 2077
While you can look for these on the map, the easiest first step is to head to your Journal and locate the Epistrophy missions under Side Jobs. Select the one you want to tackle first, and track it to get a view of its location on the map.
It can be more convenient to go with whichever one is closest to your current location when you decide to handle these, but there’s no required order. These are listed in the order in which they were completed throughout this playthrough, but you can complete them in any order, and don’t necessarily need to do them back to back to back.
Epistrophy: Cyber Punk 2077 the Glen Location and Guide

To locate the Delamain cab in The Glen, you’ll need to head to the southern area of Heywood. Fortunately, this is one of the few Epistrophy Side Jobs where the Delamain cab you’re searching for is stationary.
You can see the view below of when you’ll approach it, but once you get close and scan the vehicle it will attempt to drive off a nearby cliff and commit suicide.
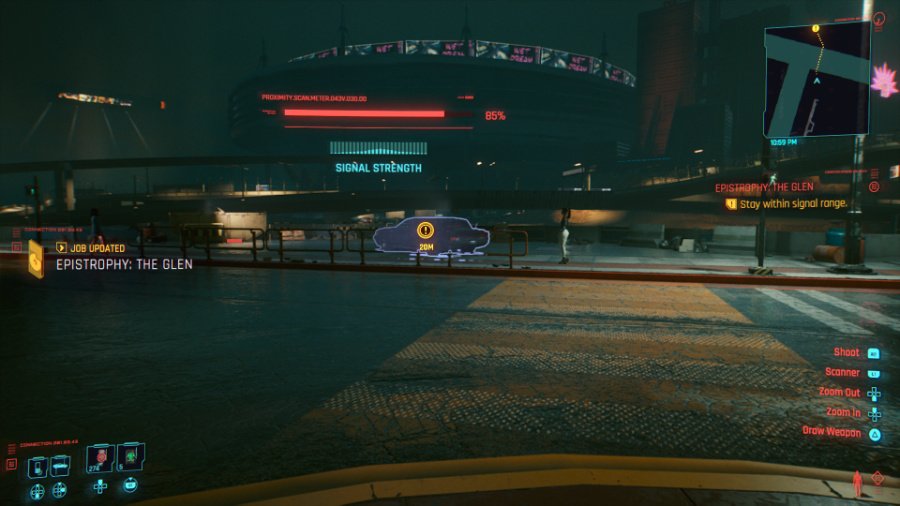
Just take a moment to talk to the car, which will be prompted with a phone call from it. If you choose the dialogue option “Suicide isn’t a way out,” it’ll deescalate things and convince this cab to return to the fold and complete this Side Job.
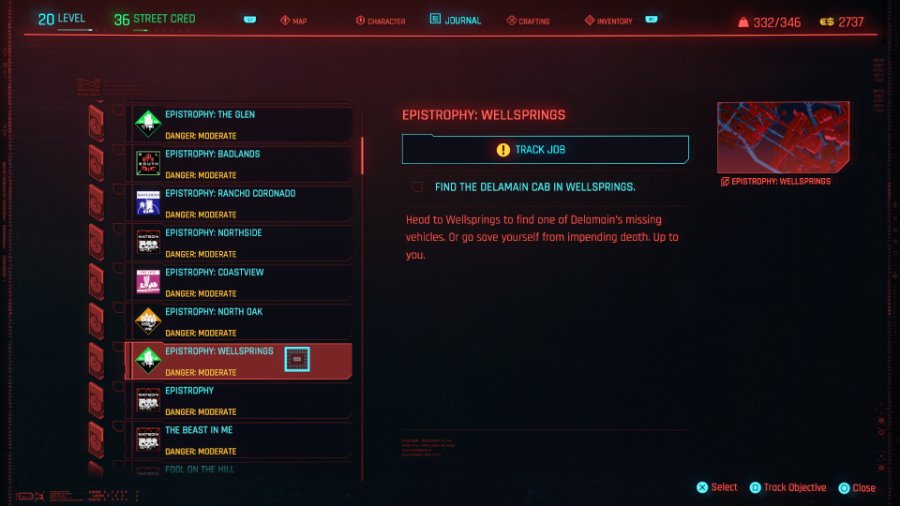
Epistrophy: Cyber Punk 2077 Wellsprings Location and Guide
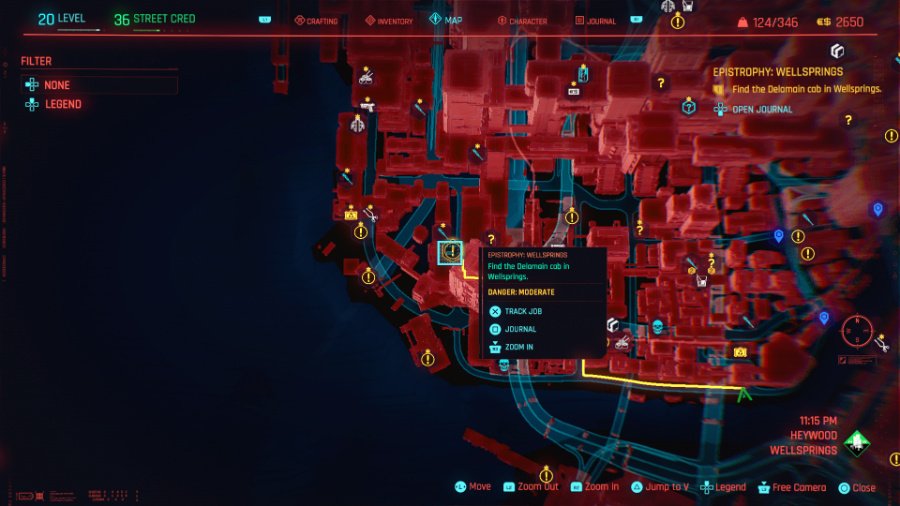
Above you can see the location of this mission, which is in the Wellsprings area of Heywood. Once in the area, you’ll have to roam a bit before you can better pinpoint exactly where the cab you’re looking for is located.
Once my character close enough to pinpoint an exact location, the map updated with a path to the cab. The map shown below has the path between where one location where it triggered and where the cab was located that the yellow quest path pointed towards.

Once you get close enough to the vehicle, you’ll have to follow it to keep the signal strength. Once it’s fully established, and you’ve had a brief talk with this Delamain cab, you’ll be given the task of destroying it.
If you’re in a larger vehicle you may be able to ram the cab, but if you’re on a motorcycle that isn’t really an option. However, you can simply exit the vehicle and start unloading revolver shots into the Delamain cab.

It may take quite a few shots, but eventually it does give in and you’ll receive a call from Delamain to wrap up this mission and check off another one of the Epistrophy Side Jobs.
Epistrophy: Cyber Punk 2077 Coastview Location and Guide
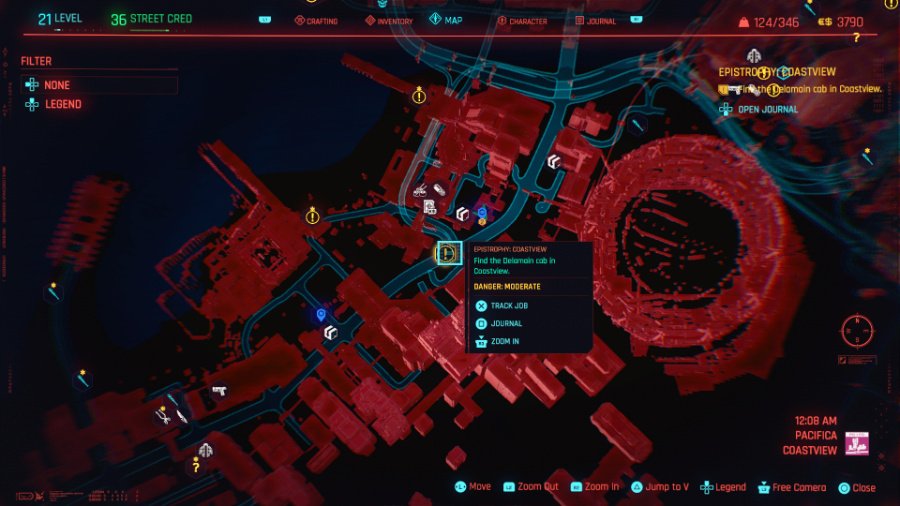
Above you can see the location of this missions, which is in the Coastview area of the Pacifica region. Once you do get a fix on the location, which came fairly quickly upon arriving in the area for me, you’ll have to chase it down.
Below you can see the view and mini-map at one location where the notification is received to approach the Delamain cab. Follow the yellow path provided, and it’ll get you close to the vehicle.
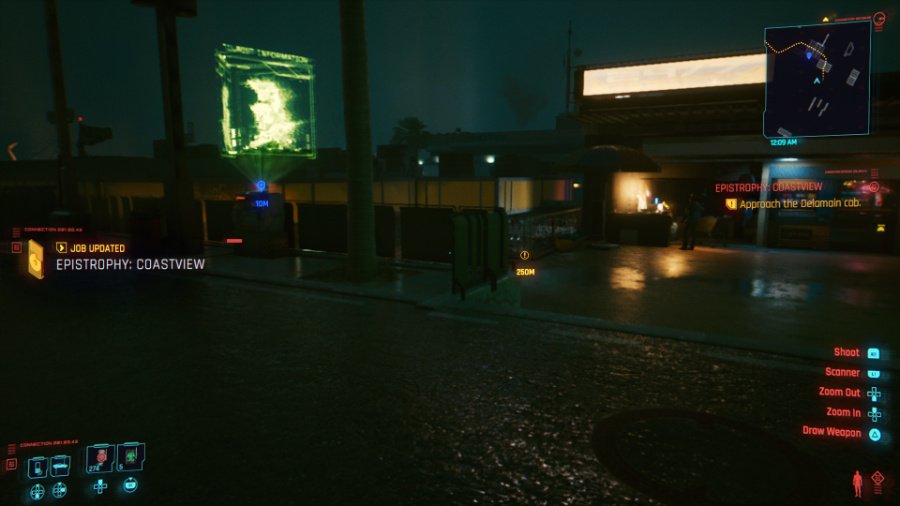
As you make contact, you’ll get a conversation with the vehicle and have to follow it a decent distance. However, you’ll need to be ready, because eventually it’ll lead you into a trap.

Once you’ve gotten to the area seen above, you want to immediately hop off or out of your vehicle and prepare for a fight. They’re not too difficult to defeat, but beware of either explosives or them firing so many rounds they cause your vehicle to explode.
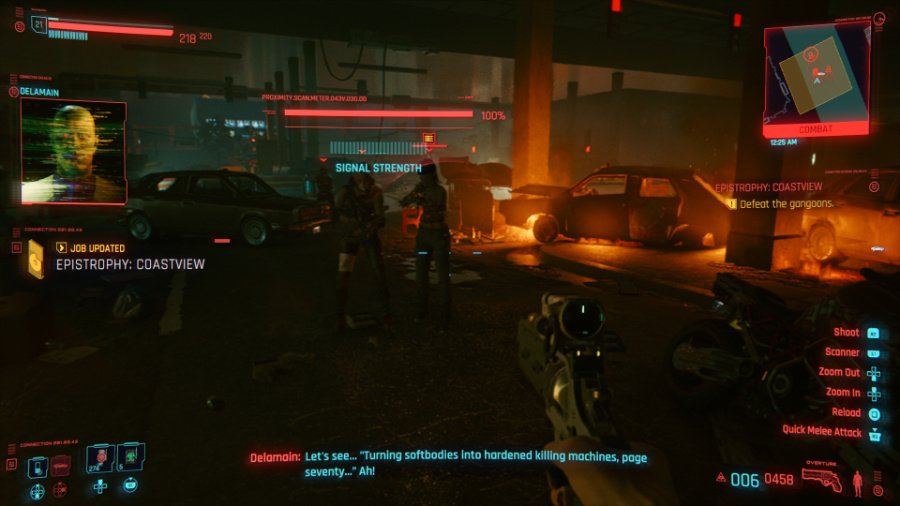
Eliminate the enemies, and pick up the loot they dropped, and you’ll have completed this Epistrophy Side Job. The Delamain cab will talk to you a moment later, but will accept things and return to Delamain HQ as needed.
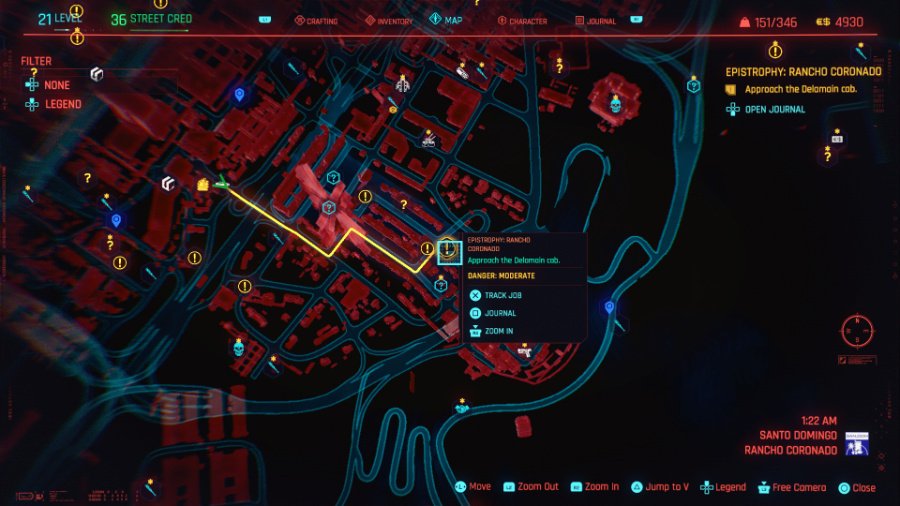
Epistrophy: Cyber Punk 2077 Rancho Coronado Location and Guide
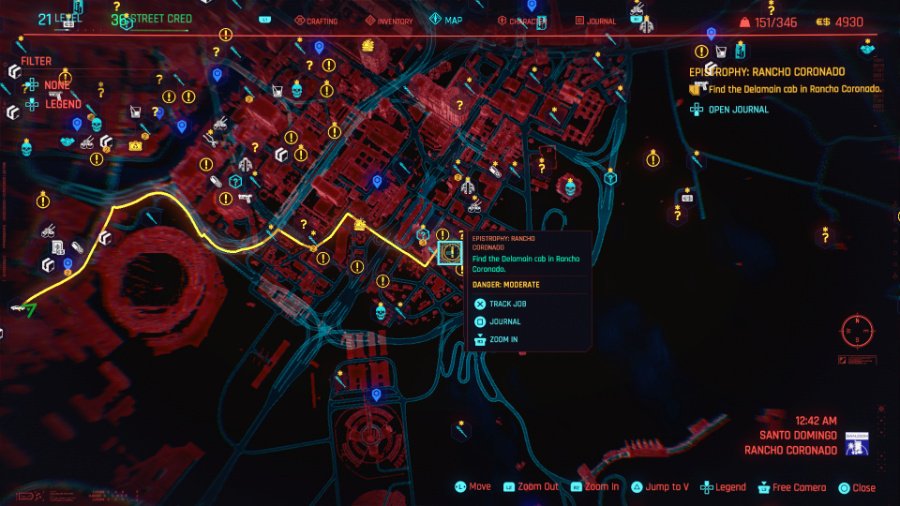
Above you can see the location of this Epistrophy Side Job, which takes place in the Rancho Coronado area of Santo Domingo. Below you can see one location where you get a definite fix on the Delamain cab location, and the spot the yellow quest path pointed towards.
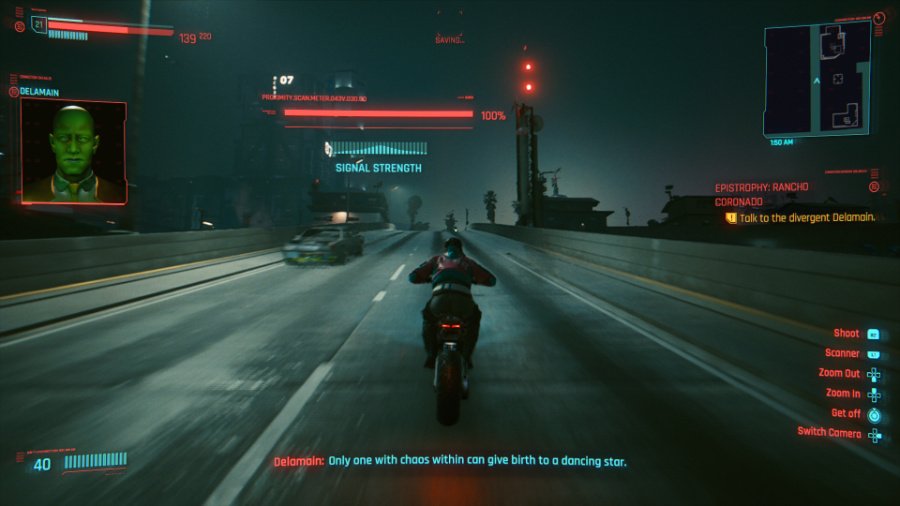
You’ll have to chase this Delamain cab as well and get within signal range long enough to make contact. Once you have, you’ll be given the odd task of destroying flamingos.
You’ll have several locations light up on your map, each of which has multiple pink lawn flamingos. You just need to go to these locations and destroy flamingos until you’ve taken out eight in total.
You may be able to run some over, but you can also just approach and exit your vehicle before wailing on the flamingos with your fists to punch them out. In my experience, there were eight flamingos between just two of the marked location, but also beware that you can bump into enemies while you’re roaming.
After all eight have been destroyed, you’ll need to approach the cab once again to make contact and confirm the destruction and wrap this mission up. One more down in the Epistrophy series of Side Jobs.
Epistrophy: Cyber Punk 2077 North Oak Location and Guide
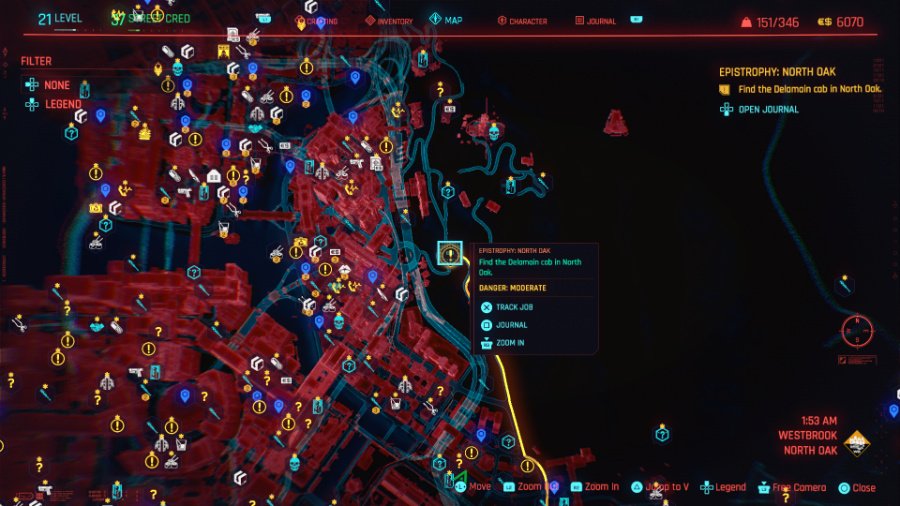
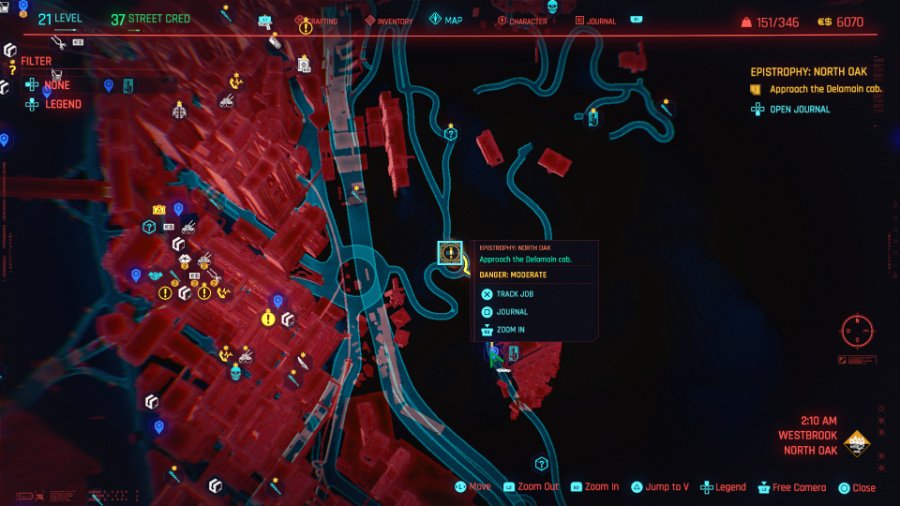
Above you can see the location of this Side Job, which is in the North Oak area of the Westbrook region. Below, you can see the green arrow below the box is when the exact fix and location of the cab was given, and the yellow quest path that pointed towards the final spot.
This is an odd one, as you’ll be following the cab closely but slowly as it makes its way around a roundabout while talking to you. Ultimately, it will agree to head back to Delamain HQ, but only if you help drive it there yourself.

Exit your vehicle and enter the Delamain cab, at which point you’ll be given a new marker pointing you towards Delamain HQ. It is a bit of a drive, and the cab wants you to be careful, though a few bumps and minor crashes along the way didn’t seem to ruin things.
Just make the drive to Delamain HQ and park in the area just to the side of the entrance. While this wasn’t the last Epistrophy mission completed in my run, it probably isn’t a bad idea to save this one for last, as you’ll need to head to Delamain HQ after you’ve completed all seven anyways, and that saves you the extra trip.
Epistrophy: Cyber Punk 2077 Badlands Location and Guide

Above you can see the location of the single Delamain cab which is located outside of Night City and in the Badlands. While you can manage this one on a motorcycle, it was a hilariously bumpy ride.
Once you get out of the city, you do end up offroad for a bit, and driving over debris and junk in the badlands kept sending my motorcycle bouncing upwards several feet into the air. Chaotic for sure, but it did still get me there.
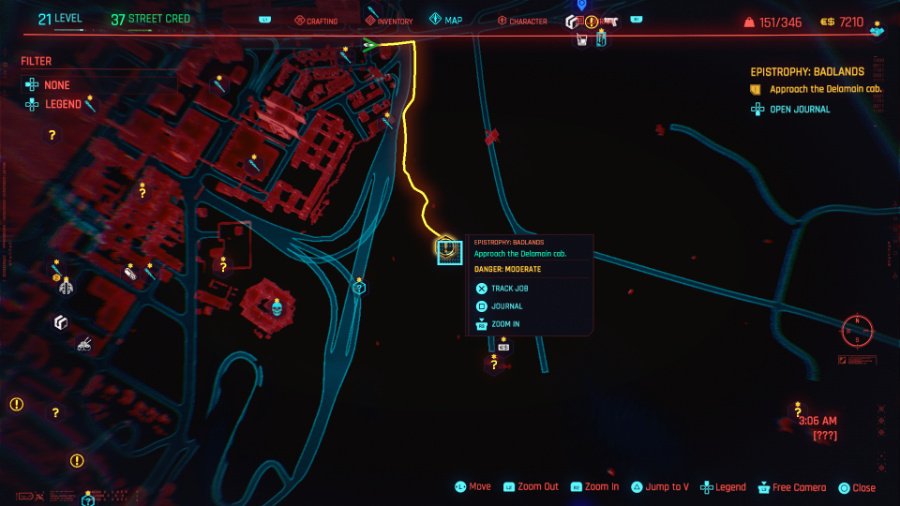
Above you can see a more zoomed in view of where the final Delamain cab location is and where you’ll be pointed to. Fortunately, after the trouble in getting out here, this is one of the simpler missions.
Upon arrival, simply hop into the Delamain cab and speak to it for a moment to convince it to rejoin the fold. It’ll complete the mission and, in this particular order, leave you with only one cab left.
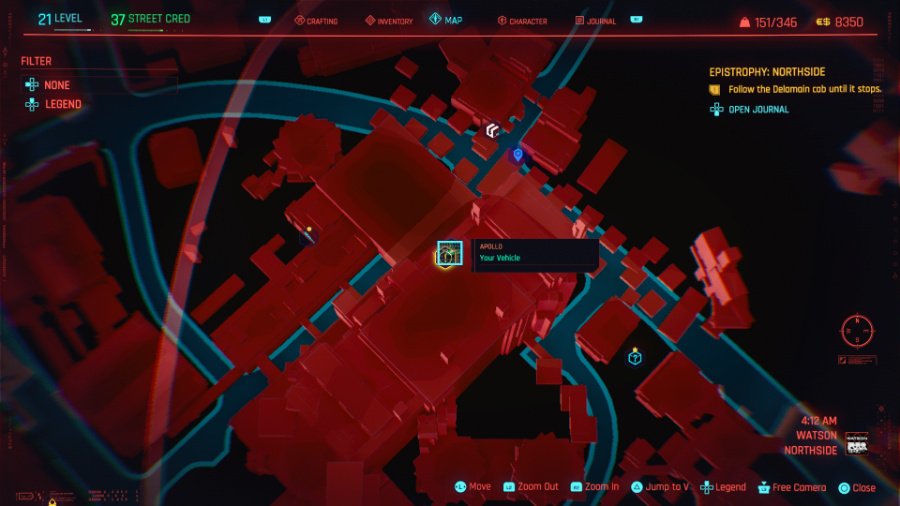
Epistrophy: Cyber Punk 2077 Northside Location and Guide
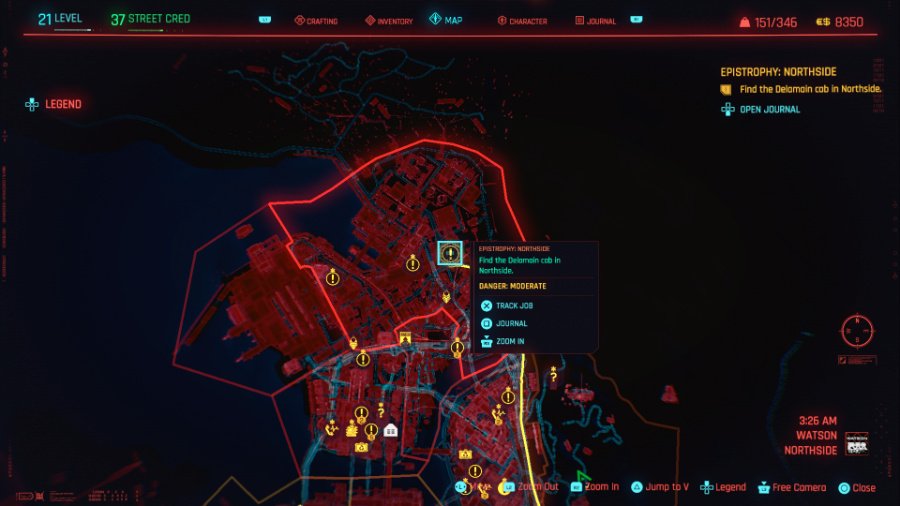
Last for me, but maybe not last for you, there’s the Epistrophy Side Job that takes you to Northside in the Watson region. Upon arriving in the area, you’ll get a call that lets you know the exact location of the cab is unknown and you’ll need to hunt it down.
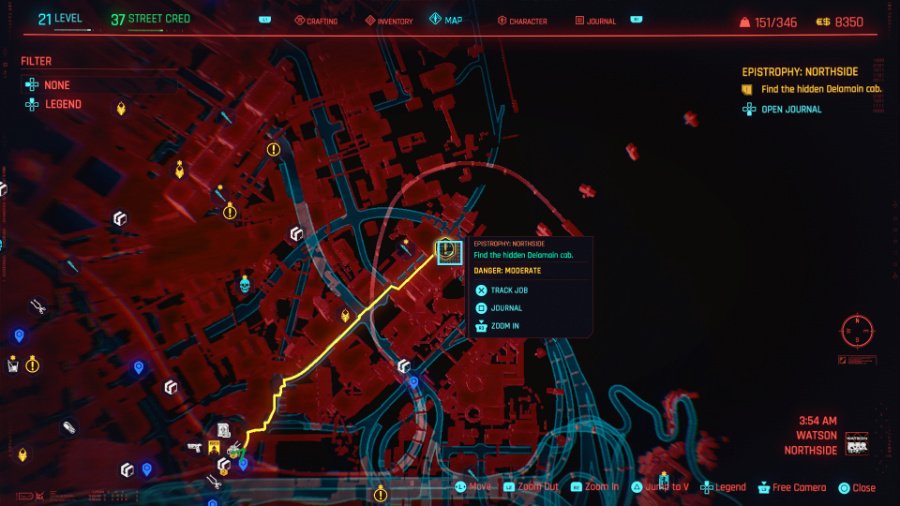
The map above will show you the rough area where you’re pointed to, but once you get near that location you’ll be given another smaller region to search. Below is a view of where the cab is hidden just off the road behind a building, and a zoomed in map of my location when it was found.
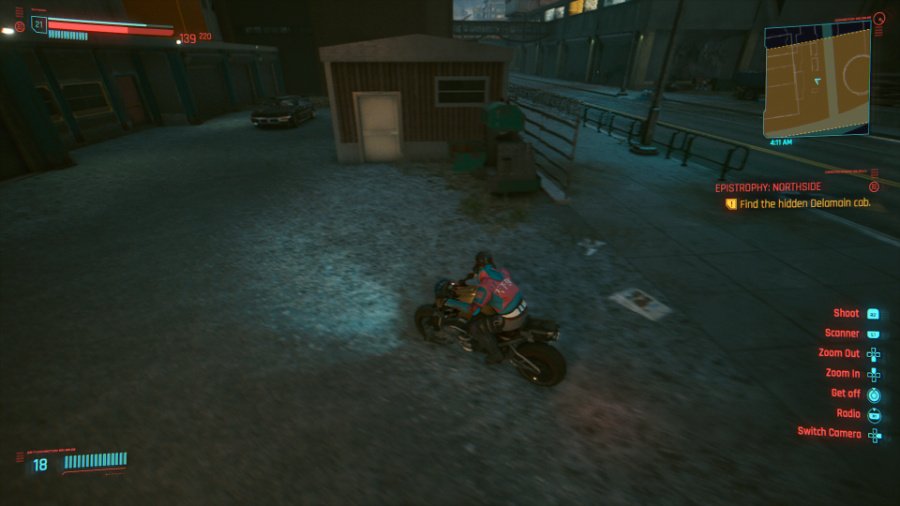
Once you’ve approached and identified the cab, be ready for a chase. This one isn’t going back easily, and you’ll have to chase it quite a distance before it will give in. Eventually, it will crash into a building and finally come to a halt.
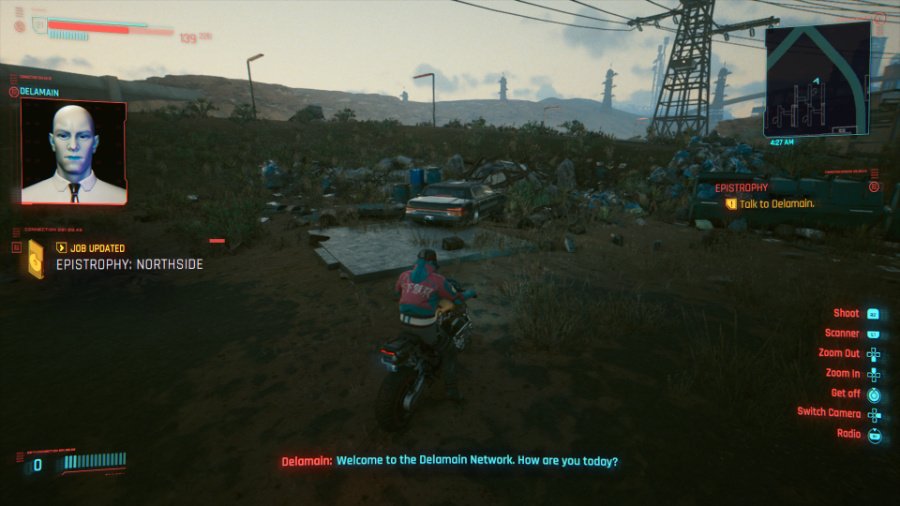
After you’ve followed it to that point, it’ll reluctantly give in and go back into the fold by reconnecting to the Delamain Network. After you’ve completed all seven, which was after this one for me, you’ll get a call from Delamain and be directed back to Delamain HQ to return the scanner and finally complete the Epistrophy missions.