As you progress through the main story of Cyberpunk 2077, you’ll quickly find that your side jobs list begins to stack-up.
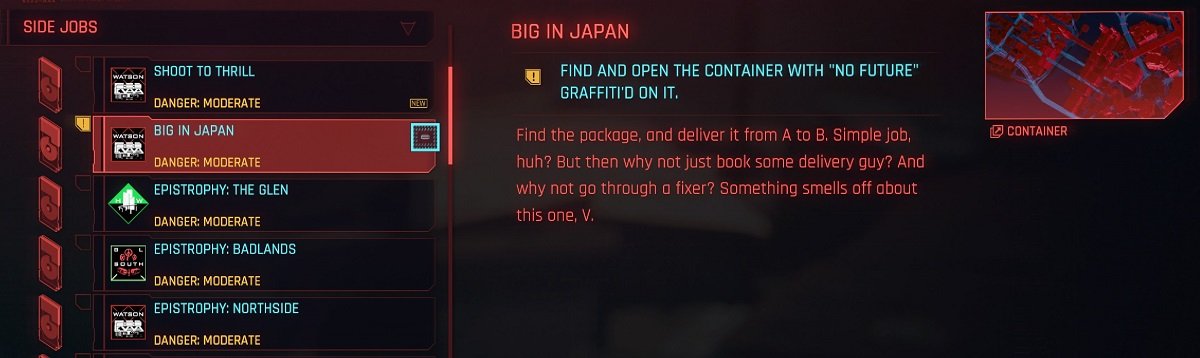
Once you’ve visited the Afterlife and spoken to Dennis Cranmer, you’ll get to add ‘Big in Japan’ to your side jobs list, which tasks you with finding and delivering a mysterious package from the slum on the outskirts of Kabuki.
Here’s what you need to know to find the container with “No Future” graffitied on it, as well as some of the routes that you can take to deliver the package.
How to get the Big in Japan side job in Cyberpunk 2077
The Big in Japan side job is one of the earlier tasks that you find, becoming available after the last mission of the Cyberpunk 2077 prologue. After you’ve completed ‘The Heist’ from the main jobs story, you can speak to Dennis Cranmer opposite the booth that Rogue is often occupying in the Afterlife.
Dennis stands in front of the ‘Do Not Cross’ tape in the Afterlife and will ask you to simply deliver some cargo from point A to point B.
Having responded “Yeah, I’m in,” you’ll need to press Left on the d-pad to track the job or go into your Journal, scroll down to the Side Jobs, and select ‘Track Job’ to follow the assignment.
With the job tracked, you’ll be instructed to go to the slum on the outskirts of Kabuki.
Where to find the container with “No Future” graffitied on it in Cyberpunk 2077
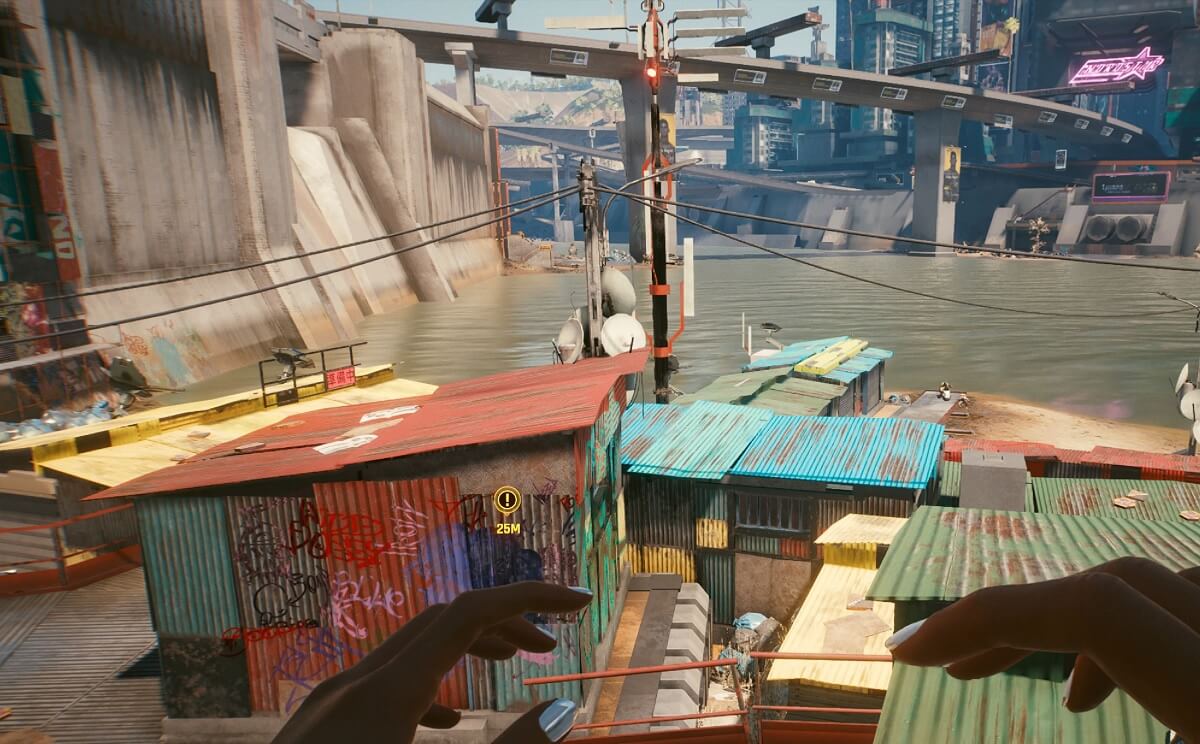
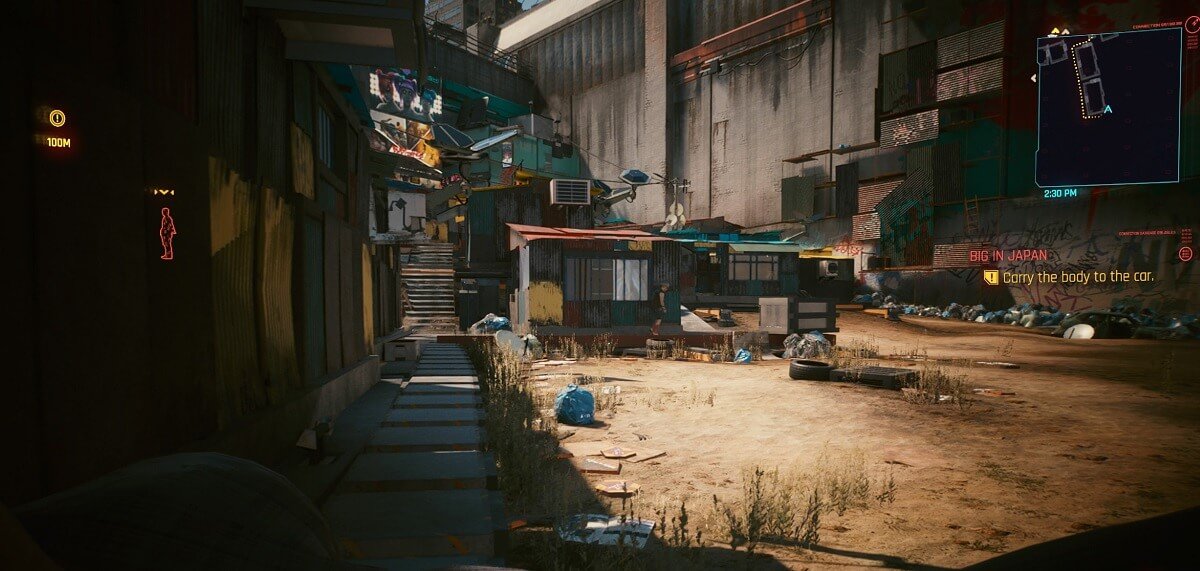
Upon arrival at the search area of the Kabuki slums, your mini-map in the top-right corner will show a yellow area in which you need to ‘Find and open the container with “No Future” graffiti’d on it.’
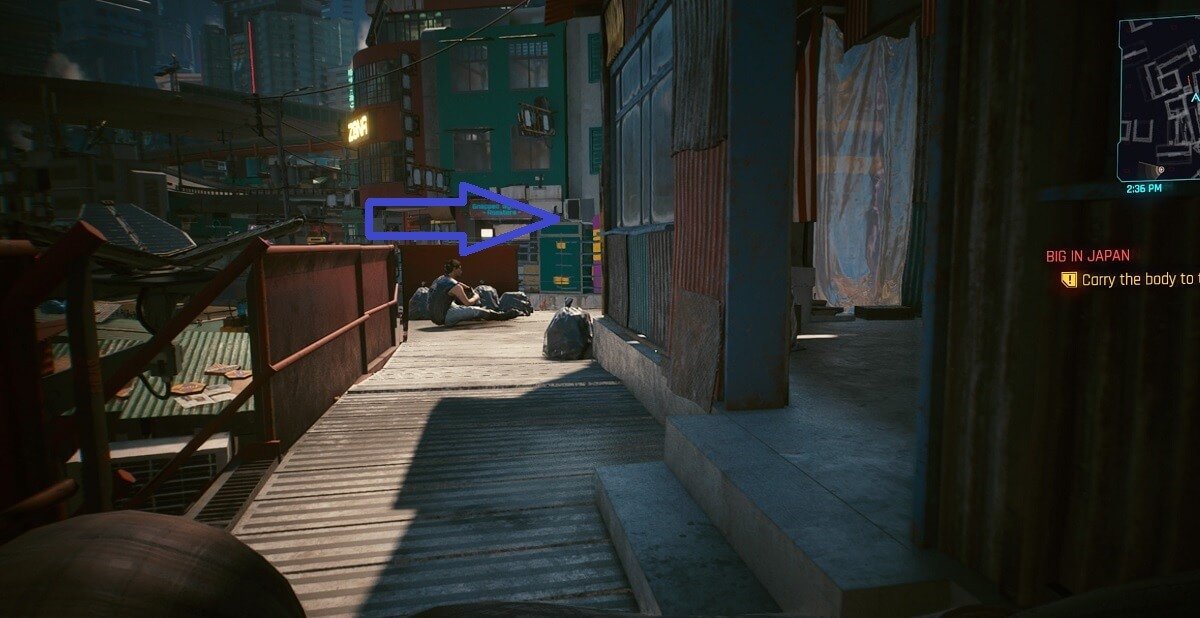
You’ll see several graffitied containers lying around that you can open to find some items, but to find the No Future container in the Big in Japan side job, you’ll need to head towards the shore.
As shown in the image below, the graffitied container in Cyberpunk 2077 is found in the final building that’s closest to the water.

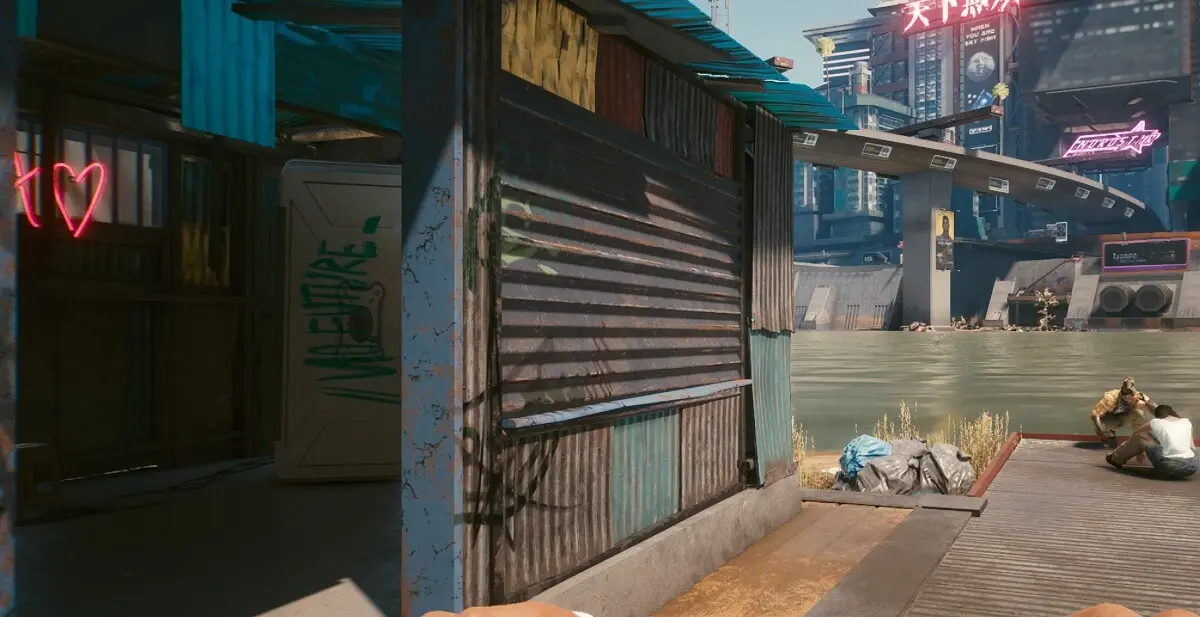
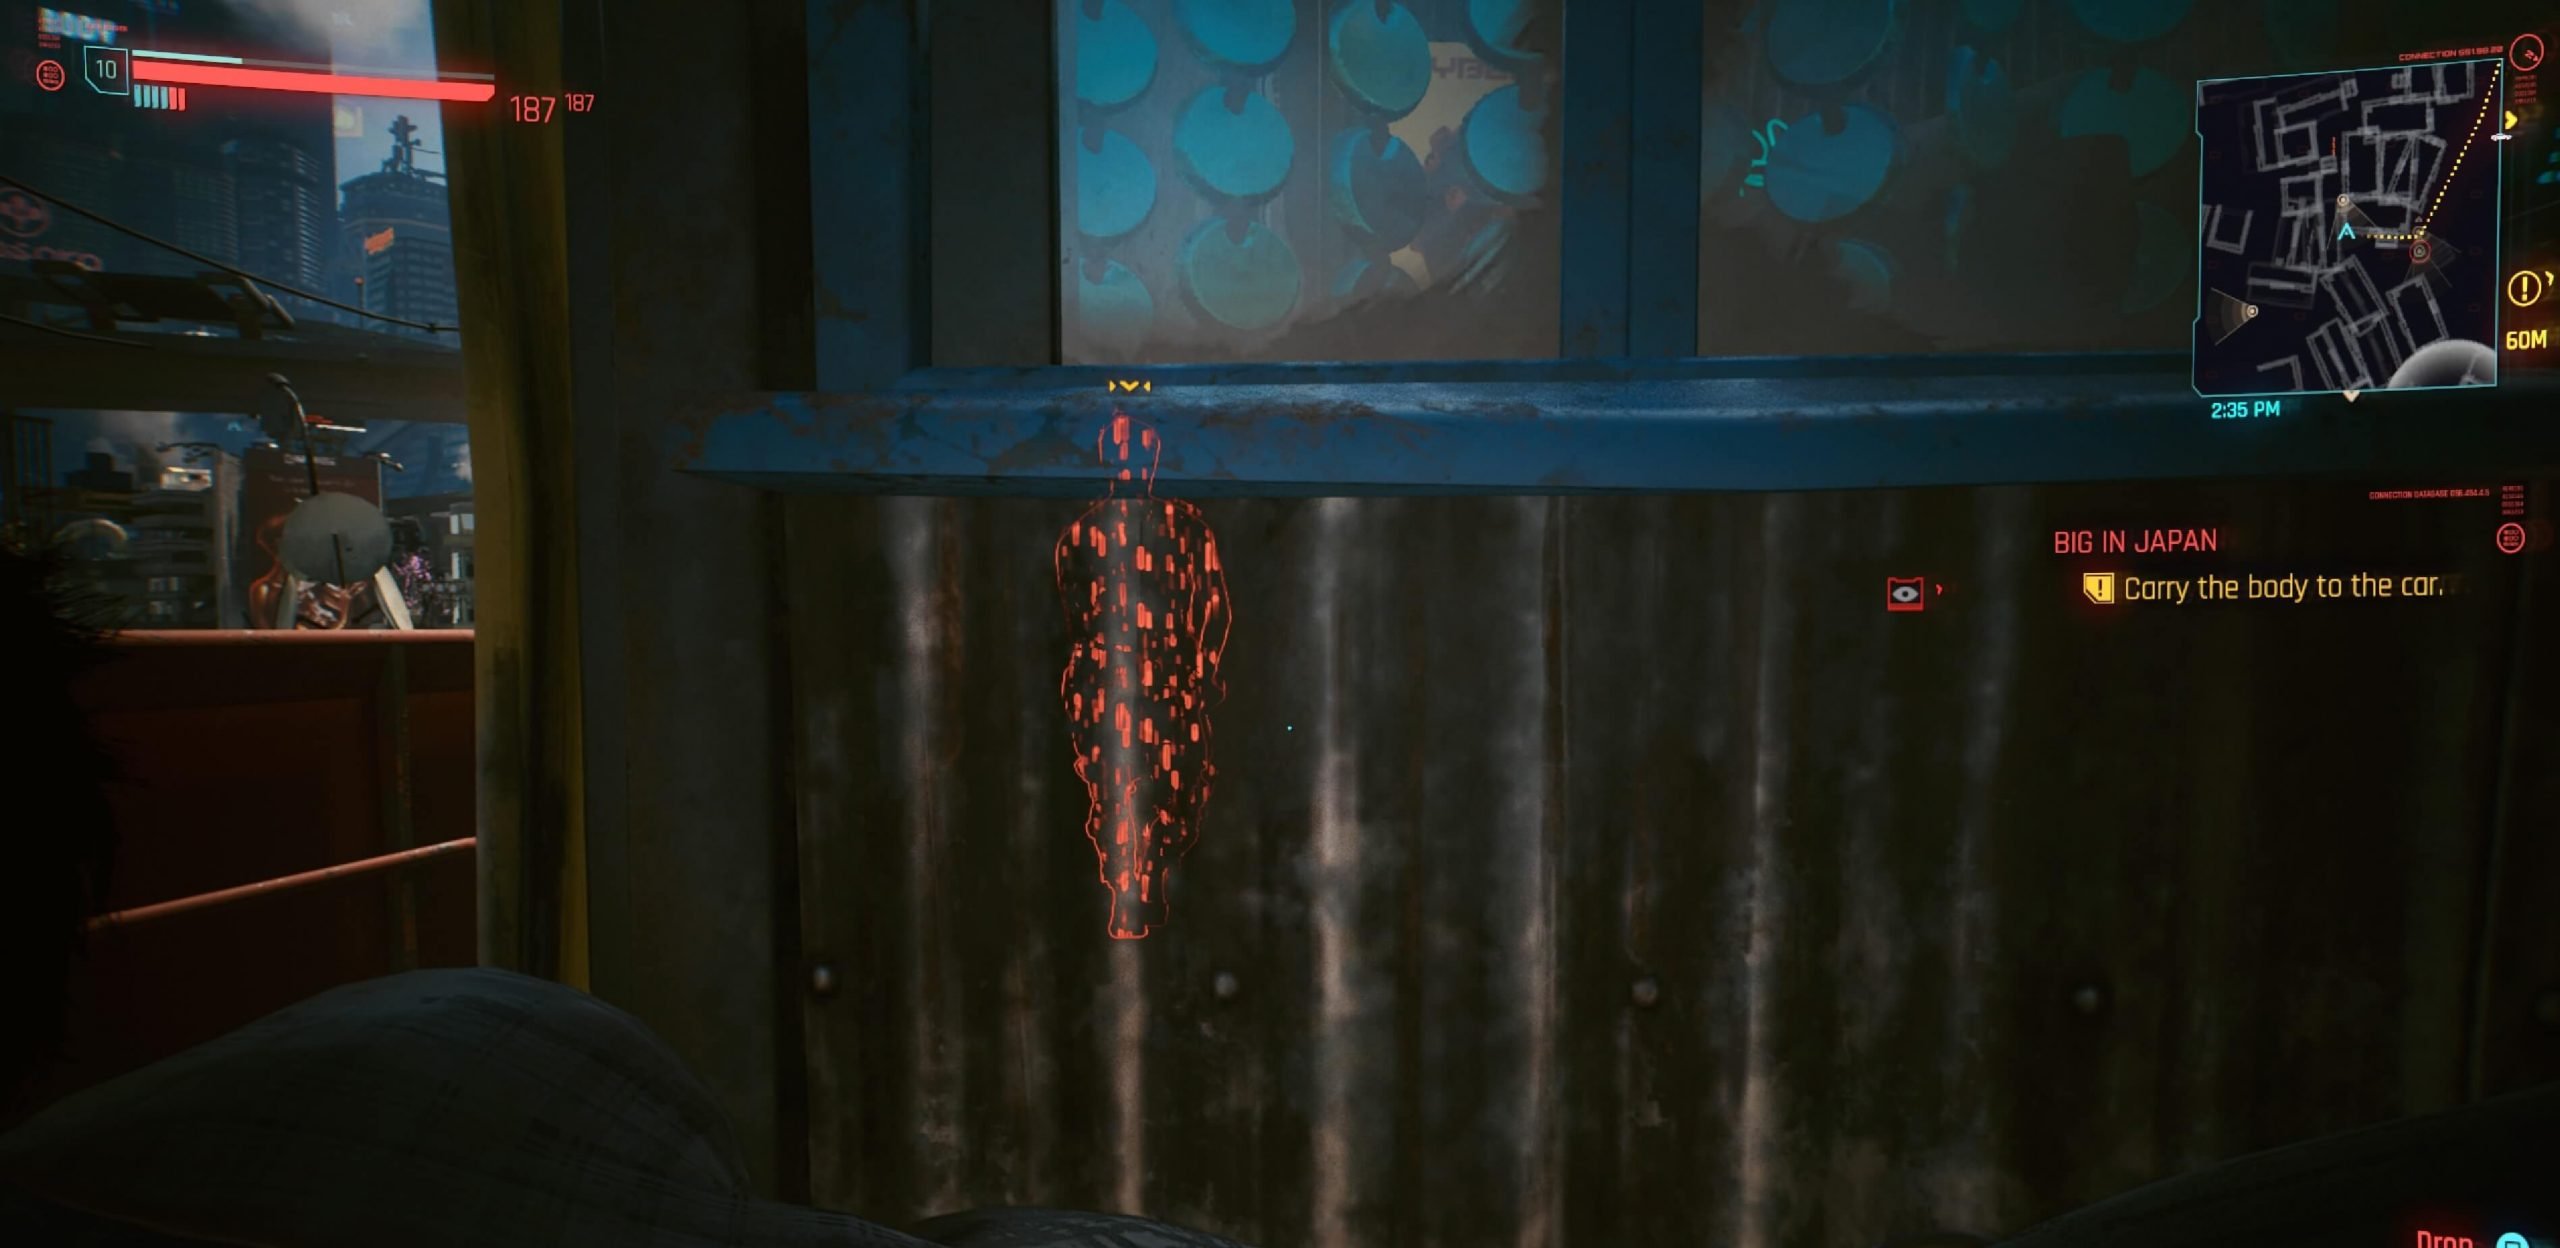
Once you’ve made your way down to the waterfront hut, go inside and open the graffitied refrigerator unit by pressing Square/X on the controller.
With the container open, you will have ticked the ‘Find and open the container with “No Future” graffiti’d on it’ task for the Big in Japan side job. Next, you’ll either call Dennis or receive a call from him.
Best ways to carry the body to the car in the Big in Japan side job
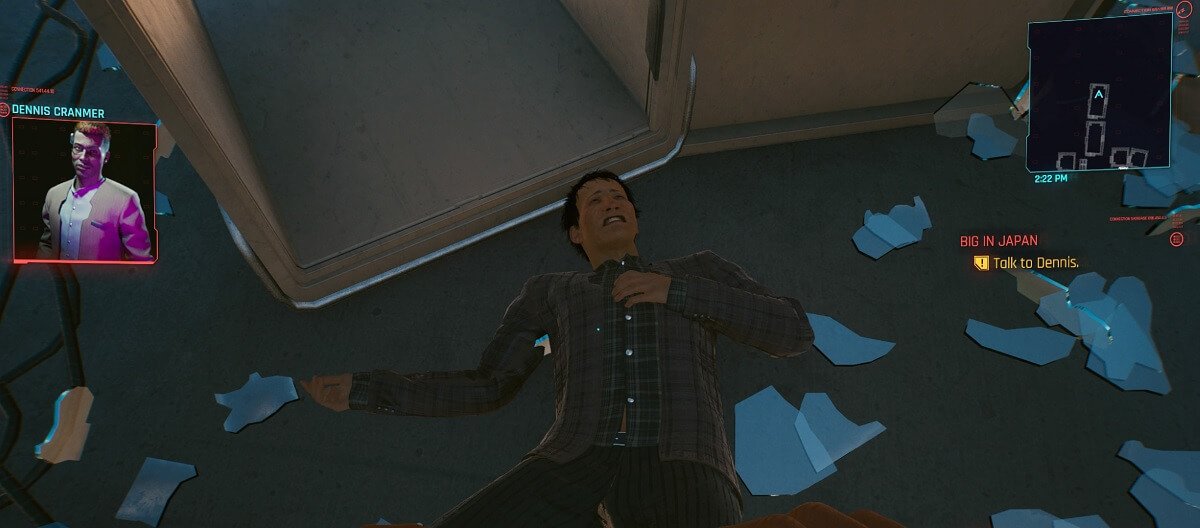
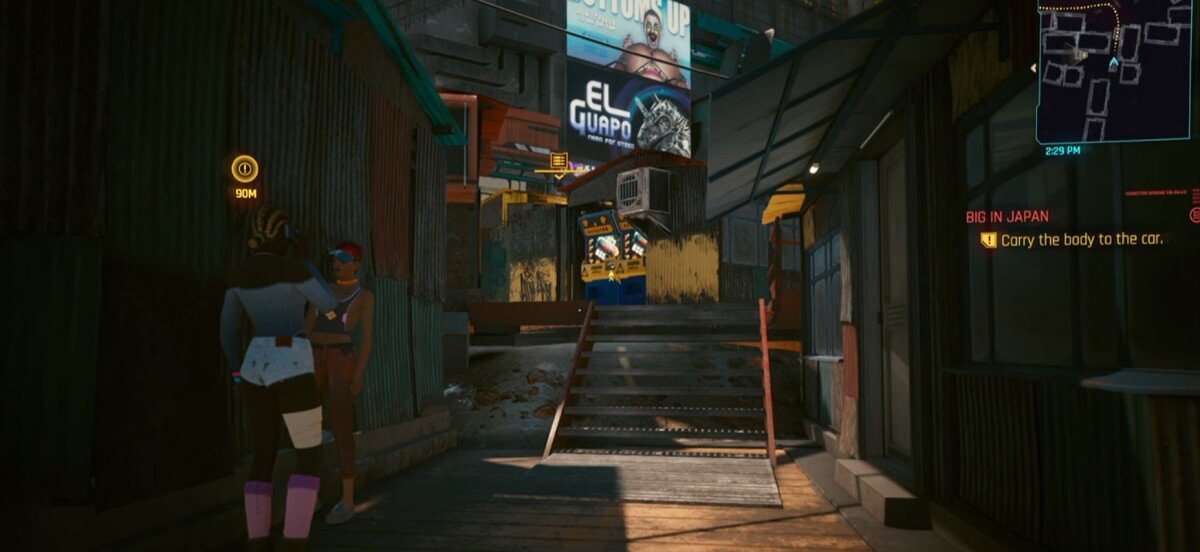
The call from Dennis will confirm that you need to escort the person who fell out of the “No Future” container to a nearby car. However, the person is unable to move, so you’ll need to carry them (hold Triangle/Y) and won’t be able to use your weapons unless you drop the body.
As is often the case in the Cyberpunk 2077 side jobs and gigs, you’ll have many options to complete the ‘Carry the body to the car’ task of Big in Japan. Here are a few of your options:
- Hide the body in a safe place and go guns-blazing to flatline roughly seven Tyger Claw assassins in the slums, and then carry the body to the car;
- Sneak (press O/B) along the shoreline, just in the water, until you hit the end of the beach, turn inland and head up the steps to find the car;
- Sneak (press O/B) back through the slums, avoiding the Tyger Claw assassins, to reach the top of the steps.
The first two options are the most straightforward, but there can be some good items to loot by sneaking through the slums, and the chance to level-up your Stealth skill if you see an opportunity.
How to sneak and carry the body to the car in Big in Japan
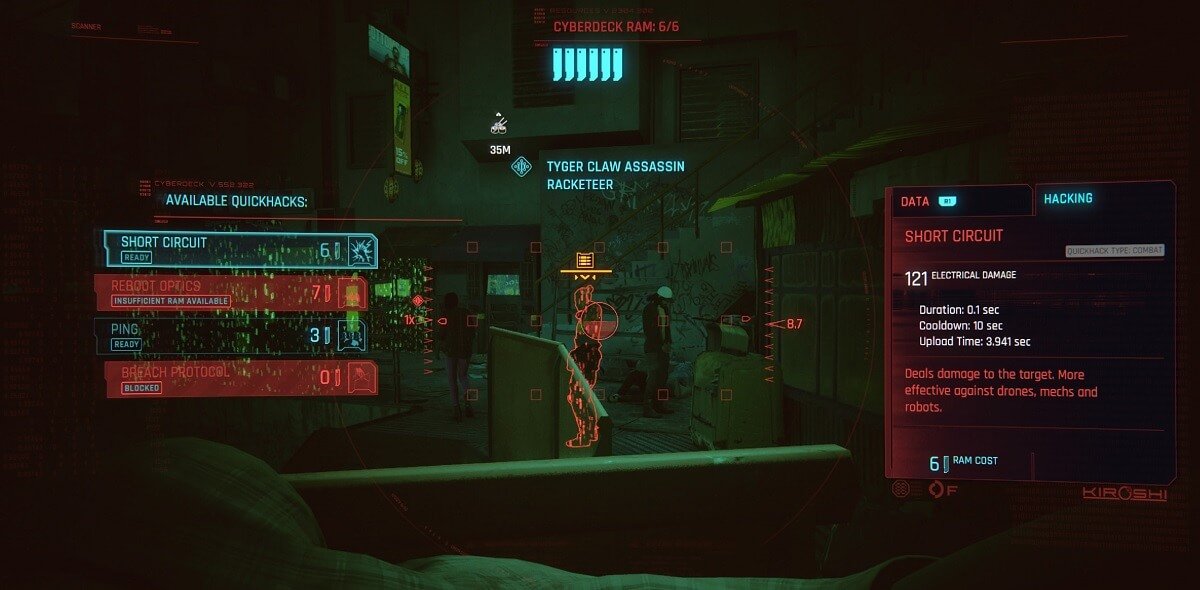
To carry the body to the car without getting detected by Tyger Claw assassins, you’ll need to remain in sneak (O/B) mode throughout and use your scanner (L1/LB) with the tag (R3) to identify and track the assassins.

The first Tyger Claw assassin is just across the boardwalk as soon as you exit the hut where you find the “No Future” container. So, you’ll need to make sure that they’re not looking in your direction when you step out of the building.
Next, walk out of the hut, turn right to head further inland and then take your first right, going between the huts.
Before you step out of the shadows and onto the next bit of beach, check left for the patrolling Tyger Claw. They will either be standing atop the next set of steps or will have walked away to the left.
They don’t spend too long in either position. So, wait for the assassin to return to the steps and then leave again before you sneak up those steps.
Go directly up that first set of steps and then the second set. Keep walking towards the blue drinks machines and take a left to turn around the first building, following the boards on the floor.
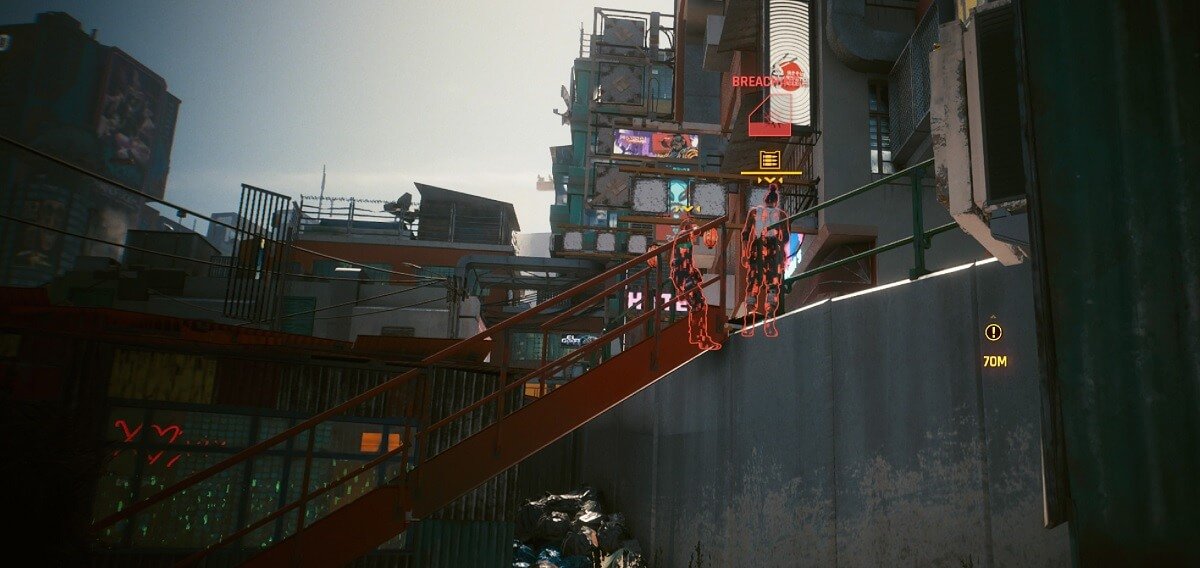
By following these, you’ll see the red rails and yellow rooftops on your left while you walk through the shadows. Before you step out beyond the row of huts on the right, you’ll need to check for three Tyger Claw assassins.
The first one is directly opposite, likely on the other side of the building along the path, as shown below.

Having marked the assassin across the path, you’ll need to look up and to the right to see another two Tyger Claw assassins standing at the top of the red steps. If you step out too far, the assassin on the left will notice you.
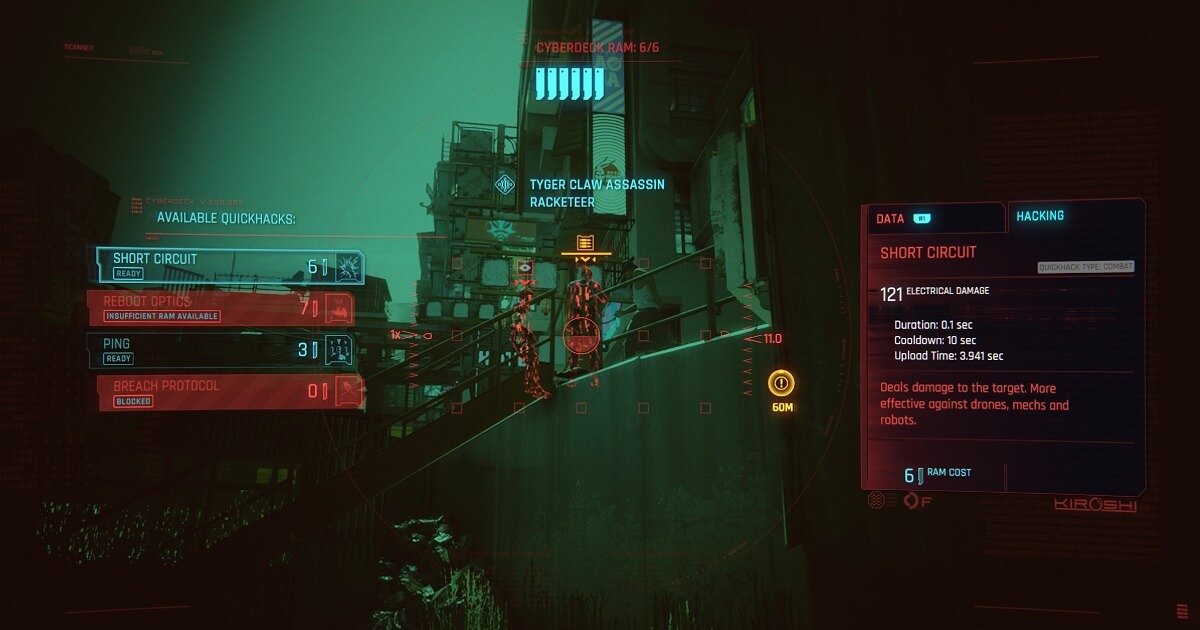
To get past all three of them, you can use your quickhack Short Circuit (L1/LB to scan, Square/X to execute) on the nearest Tyger Claw assassin who is at the top of the steps.
Once the breach is complete, they’ll both move from their position, allowing you to tuck into the wall of the adjacent building.
With the Tyger Claws distracted, the assassin standing on the other side of the building opposite will be on the move, with their course taking them through the building. So, be sure to tuck into the outside wall and edge around the corner as they head towards the red steps.
When the assassin has passed, you can continue down the path with the red railing on your left. You’ll need to reach the next turn before the last Tyger Claw returns to their post, tucking into the right side before they spot you.
The final Tyger Claw assassin to avoid will be patrolling this next area. You’ll have some red panels to crouch behind to remain hidden while you await their next move.
It shouldn’t take long for them to continue on their route down the steps and towards the water, giving you plenty of time to follow the path to the right and then up the concrete steps, leading you up and out of the slum.
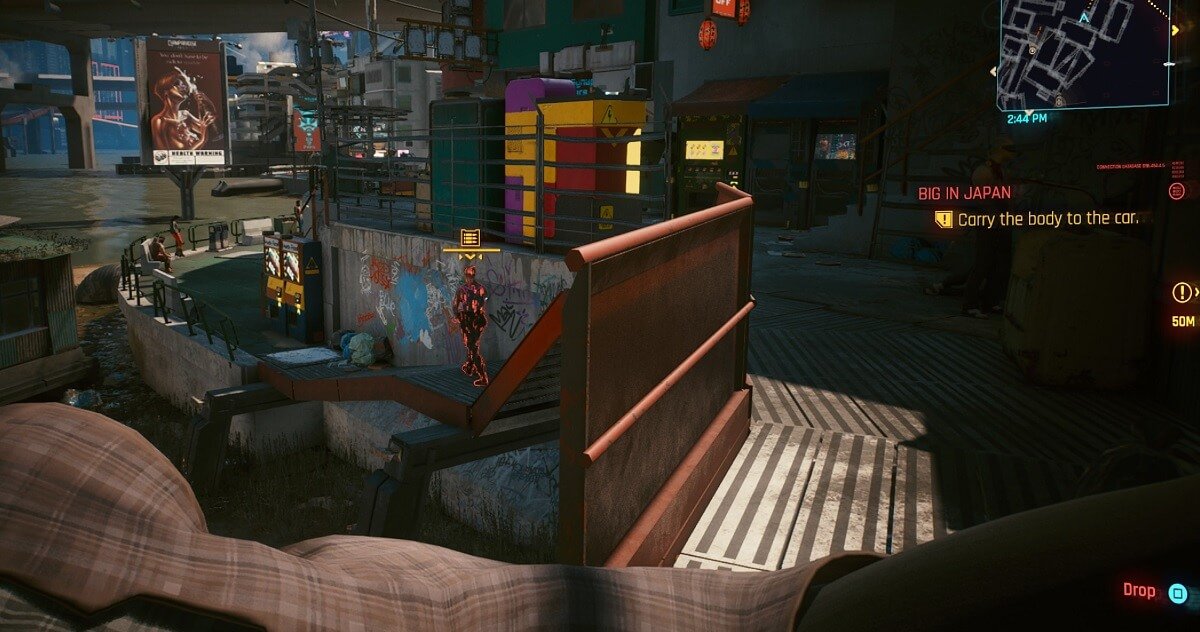
Follow the sets of concrete steps up to the top, turn left, and you should see the car parked just across the road – indicated by the yellow mission marker.
Go to the back of the car, dump the body in the boot (Square/X), and then sit in the front to drive and deliver the body to the specified coordinates.
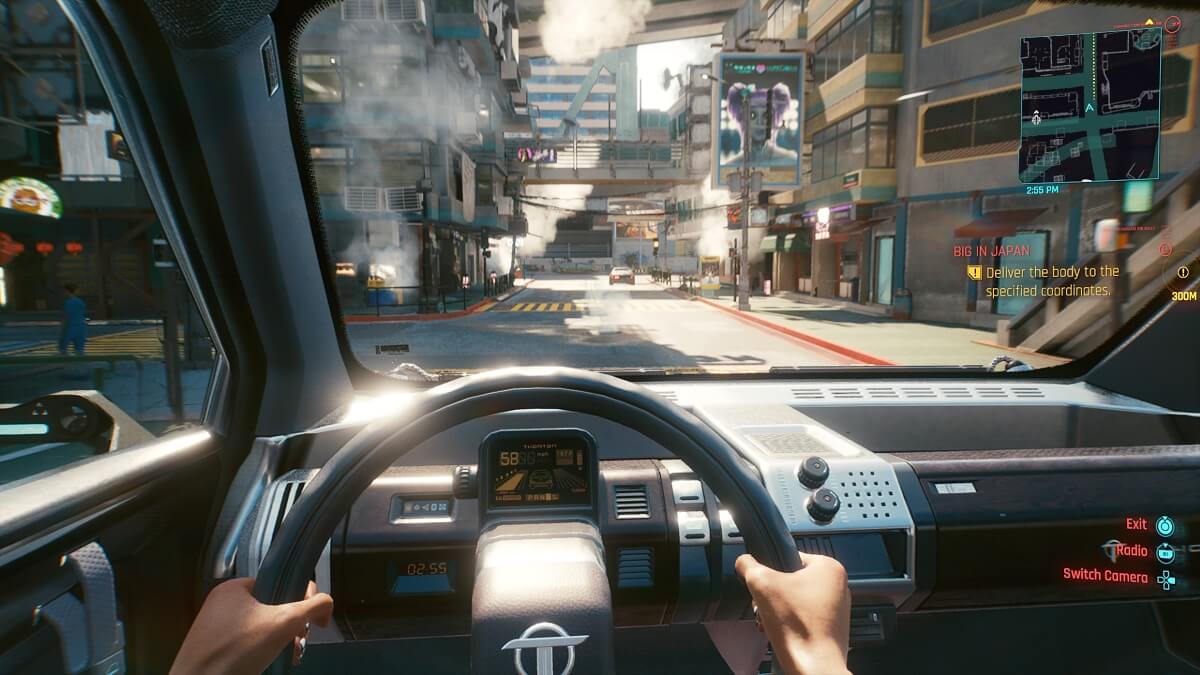
After a short drive without any adversaries attempting to stop you, should you drive carefully, you’ll make the drop at the delivery point, parking at the marked location on the map.
Once you leave the car and talk to Dennis, the side job Big in Japan will be complete.
Rewards for completing Big in Japan in Cyberpunk 2077
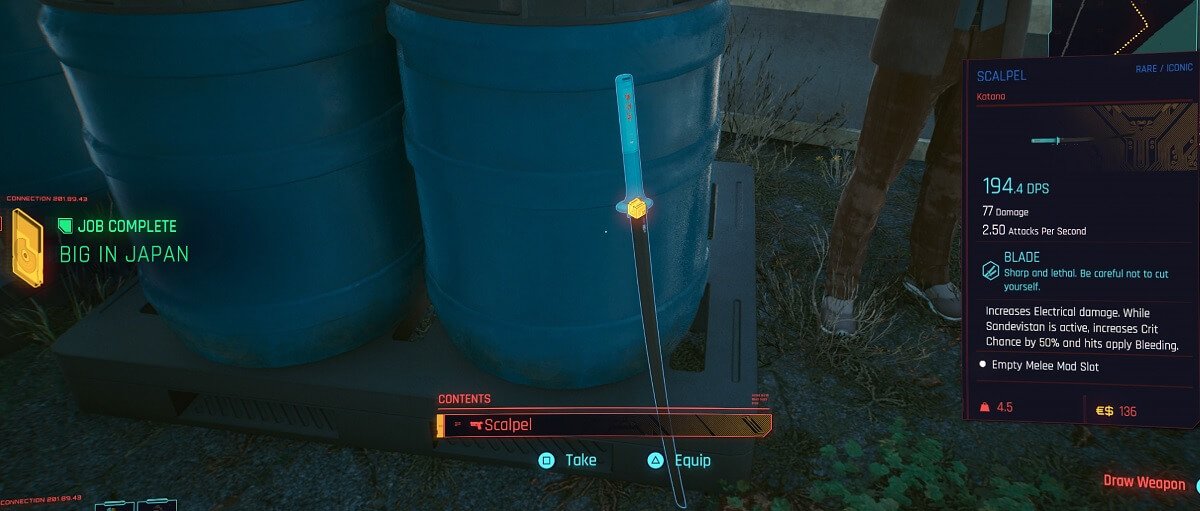
After you’ve talked to Dennis and been introduced to Haruyoshi, the brain surgeon, you’ll ask about your payment and be pointed to the blade resting to the side.
The blue-handled katana is called ‘Scalpel,’ has a melee mod slot, increases electrical damage, and is worth €$136.
As well as the katana gifted by Dennis, you’ll also receive €$990 and a stack of Street Cred for completing Big in Japan.
Now you know where to find the container with “No Future” graffitied on it, as well as the routes to carry the body to the car in the Cyberpunk 2077 side job Big in Japan.