You’ll need to locate five powerful Straw Hat assassins across Toyotama to complete The Six Blades of Kojiro, one of the most iconic Mythic Tales in Ghost of Tsushima. This guide shows you where to find each Straw Hat location, how to prepare, and tips for winning every duel—plus how to unlock the legendary Kensei Armour.
The duels offer some of the greatest moments in Ghost of Tsushima, with the Mythic Tale ‘The Six Blades of Kojiro’ featuring half-a-dozen of the intense battles.
At the end of The Six Blades of Kojiro, you’re greatly rewarded with the Kensei Armour, which enhances the power of your Ghost Weapons.
It’s a tall order to defeat each of the highly-skilled, incredibly powerful duellists, so in this guide, we’re going through where to locate the Straw Hats, the upgrades that you should get first, and the attacks to look out for during the duels.
You can also sharpen your duelling instincts on other ronin, like Jinroku in The Other Side of Honour Mythic Tale, which offers a great warm-up before you go toe-to-toe with Kojiro’s assassins.
Warning, this The Six Blades of Kojiro guide contains spoilers, with each part of the Ghost of Tsushima Mythic Tale detailed below.
Duel Locations Summary
| Duel Name | Location | Region |
|---|---|---|
| Duel Among the Spider Lilies | Inland of Umugi Cove, north of Lady Sanjo’s Bridge | South Toyotama |
| Duel in the Drowning Marsh | South of Old Kanazawa Marsh | East Toyotama |
| Duel of Crashing Waves | North of Urashima’s Village | East Coast |
| Duel Under Falling Water | North of Musashi Coast | West Toyotama |
| Duel Under Autumn Leaves | East Coast garden, north Toyotama | North Toyotama |
How to Start The Six Blades of Kojiro Mythic Tale

To embark of the Mythic Tale of The Six Blades of Kojiro, you’ll need to get to Act II of the main story thread in Ghost of Tsushima.
Just like in The Curse of Uchitsune, you’ll track the tale by following clues from wandering musicians and storytellers—starting at Umugi Cove.
You’ll hear about a musician telling the tale by talking to peasants, either after saving them out in the wild or talking to those with speech prompts within settlements and camps.
When you arrive at Umugi Cove, you’ll encounter the musician cowering at the back of the dojo, claiming that there’s a demon called Kojiro.
After hearing the tale, you’ll be told that Kojiro has granted you the honour of a duel if you can best his five Straw Hat disciples.
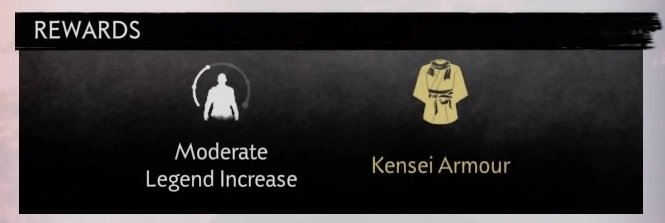
For completing The Six Blades of Kojiro, you’ll receive a moderate legend increase and the fabled Kensei Armour.
Where to find the Straw Hat Assassins in Toyotama
Once the musician sends you off to defeat the ronin, your first mission objective reads ‘Locate the Straw Hat Assassins in Toyotama,’ but it the guiding wind doesn’t work.
This task is a general one, and to complete it, you need to visit each of the individual Straw Hat Assassins dotted around the map. Here are all of the map locations for the Straw Hat assassins in Toyotama:
The Duel Among the Spider Lilies is found a fair bit inland of Umugi Cove, north of Lady Sanjo’s Bridge and the Field of The Equinox Flower.

The Duel in the Drowning Marsh is found to the east of the first duel, south of Old Kanazawa Marsh and north-west of Drowned Man’s Shore.

The Duel of Crashing Waves lies on the east coast of the map, north of Urashima’s Village, down through the torii gates that lead to the Cloud Ridge Shrine – which will likely be guarded by a Straw Hat.

The Duel Under Falling Water is across the map on the west coast. It’s found north of Musashi Coast and can be found by following the river that flows from further inland. You’ll find the ronin sitting at the base of the waterfall.

The Duel Under Autumn Leaves takes you much further north. Travelling along the east coast, you’ll be able to take a path that splits before the mountain climbs, leading you down to a garden of red leaves.

With the knowledge of how to locate the Straw Hat assassins in Toyotama, all you need to do is face and defeat each of them in a duel – which is easier said than done.
Tips for Each Straw Hat Duel
There are two key areas that you should upgrade before entering into the Straw Hat duels in The Six Blades of Kojiro.
Using your technique points – earned by increasing your legend and liberating Mongol-conquered locations on the map – you should aim to upgrade your Deflection and Stone Stance techniques.
By pressing pause and then R1 to move across to the Techniques menu, you’ll be able to find the Deflection upgrades under the swords section of the scroll.

Unlocking these Deflection techniques will give you the chance to recover health and resolve during the duels by timing your parries – which will prove vital in the battles.
To be ready for the Straw Hat assassins located in Toyotama, you’ll want to upgrade down to the Resolved Parry. You can reach this upgrade with five technique upgrades.
Under the same Techniques menu, by scrolling down to the armour-symbol section, you can upgrade your Stone Stance.
It’s the optimal stance (equipped by pressing R2 and X) for fighting swordsmen, with its upgrades proving invaluable against these Straw Hats.
If you’re still getting used to the timing for parries and stances, check out our Ghost of Tsushima Advanced Controls Guide for tips on how to master the basics before taking on these high-level duels.

Each Stone Stance upgrade costs one technique point. You’ll want to get all four upgrades (Puncture, Strength of Mountains, Full Puncture, and Momentum), with the second and fourth offering the best perks.
Stone: Strength of Mountains increases the stagger damage against swordsmen, while Stone: Momentum increases the speed of your heavy attacks – which you will be relying on in the duels.
Between each duel, it’s also a good idea to top-up your resolve. To do this, be sure to battle Mongols on the way to the duelling circles, or look for occupied areas to pick a fight.
Now that you know where to find the assassins in Toyotama and the best upgrades to equip before entering the duels, it’s time to take them on.
Tips for the Duel Among the Spider Lilies
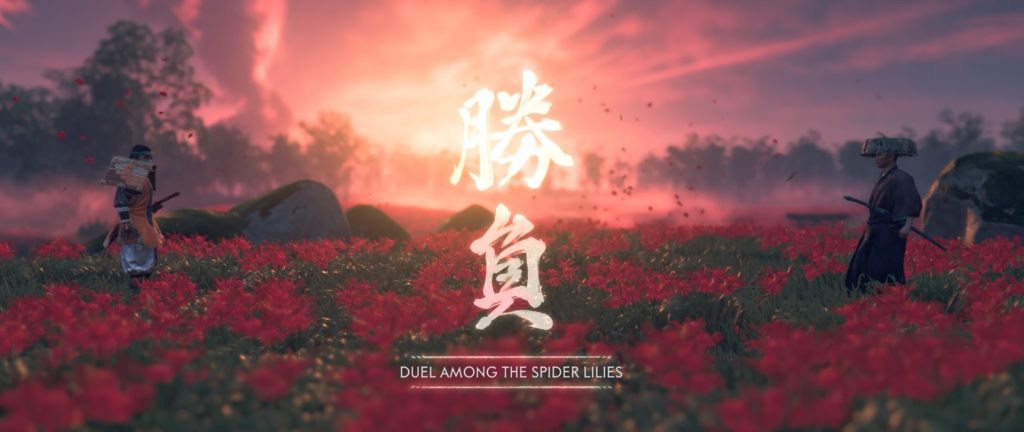
Hirotsune offers a glimpse of the speed and power to come from the other Straw Hats that you have to face during The Six Blades of Kojiro.
Here are some tips to help you defeat Hirotsune in the Duel Among the Spider Lilies:
- Hirotsune will charge-up an unblockable strike from range and will follow with a blue-tint attack, so you’ll need to dodge and then block.
- When Hirotsune sheaths his sword, the ensuing attack is unblockable, so you’ll need to wait until they get close and then quickly dodge.
- Against Hirotsune, it’s best to primarily use heavy attacks, break his stagger bar, and then pile on the attacks until he’s come around.
Tips for the Duel in the Drowning Marsh
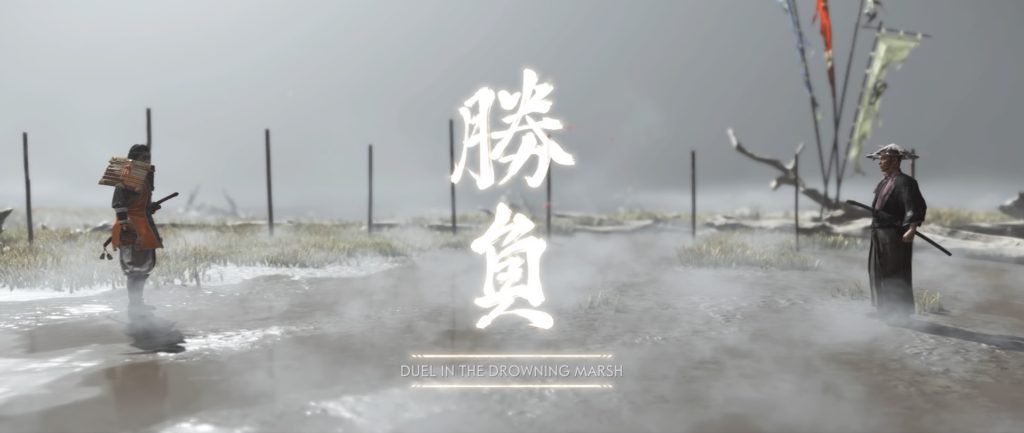
Yasumasa is one of the trickier ronin to conquer in this Mythic Tale, using a vast range of swift, unblockable, and near-unreadable attacks.
Here are some tips to help you defeat Yasumasa in the Duel in the Downing Marsh:
- Many of Yasumasa’s unblockable moves are followed by blue-tint attacks which can be parried. However, as it’s all so fast, it’s best to dodge it all and then strike when Yasumasa is cooling down.
- Always look to double dodge when Yasumasa shows an orange-tint as they’re rarely single strikes.
- When given distance, Yasumasa will jump in with an unblockable orange-tint attack which is very fast.
- Be strategic with Yasumasa, give yourself lots of distance, look to parry, hit with a few heavy shots at a time, and then fall back again.
Tips for the Duel of Crashing Wave
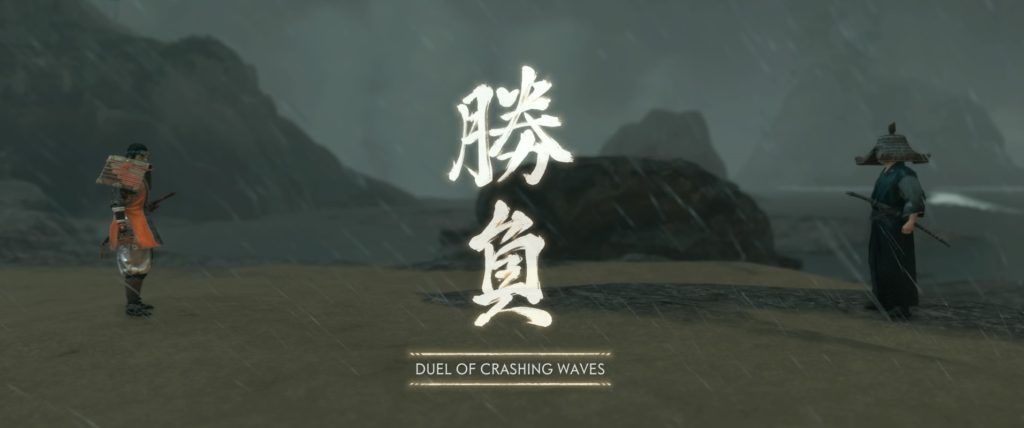
Once you’ve made your way down the path of torii gates that lead to Cloud Ridge Shrine, you’ll encounter the defensively-attuned Tomotsugu, who’s just passing the time with a bit of fishing.
Here are some tips to help you defeat Tomotsugu in the Duel of Crashing Waves:
- Tomotsugu’s unblockable moves tend to come in from range and be big, speedy, one-strike attacks: even the attack from a sheathed sword is a single move.
- The main threats are the speedy blue-tinted moves and the seven-strike combinations of basic attacks, so be ready to parry often.
- Tomotsugu is fleet-footed and very quick to block. So, you should always aim to use heavy attacks to break the blocks, but not go overboard as Tomotsugu will soon sidestep you and land several powerful quick attacks.
Tips for the Duel Under Falling Water

If you approach from inland and find yourself overlooking a waterfall with the duel at the bottom, you can jump down into the pool without taking damage. By the waterfall, you’ll discover Kiyochika meditating.
Here are some tips to help you defeat Kiyochika in the Duel Under Falling Water:
- Kiyochika is probably the easiest to duel, with their most potent special attack being a blue-tint triple stab – so be sure to always dodge to the side instead of just backward.
- The orange-tinted unblockable attacks of Kiyochika are usually single shots followed by blue-tinted swipes.
- You can be quite aggressive with Kiyochika, getting in close and smashing heavy attacks, setting up openings again with the parry and counter technique.
Tips for the Duel Under Autumn Leaves

In the duel furthest to the north, you’ll encounter a murderous ronin, Kanetomo, who has been slaying peasants for sport while waiting for your arrival.
Here are some tips to help you defeat Kanetomo in the Duel Under Autumn Leaves:
- Kanetomo likes to use an eight-strike combo, so if you don’t manage to parry the first attack, attempt to hold a block for the rest and then dodge at the end of the combination.
- The ronin likes to double-up on orange-tinted attacks, so you’ll want to dodge and then dodge again just as the second one shows. Keep an eye out for the odd three-hit unblockable attack, too.
- Kanetomo will hint at a swift unblockable attack from range by letting out a battle cry. When you hear it, they will surge in with the sword above their head and slash down, following up with another slash.
- One of the best ways to create an opening is by making some distance and waiting for Kanetomo to trigger their zig-zag blue-tint attack. It’s quite easy to parry, and then you can follow-up with heavy attacks.
Locate the Duel Entrance at Omi Monastery
Having defeated Hirotsune, Yasumasa, Tomotsugu, Kiyochika, and Kanetomo, you can return to the musician in Umugi Cove to discover where you’ll fight Kojiro.
The duel entrance is at Omi Monastery. If you fast travel to the monastery, all you have to do it head towards the giant statue and then turn right to the stone path that crosses the river.
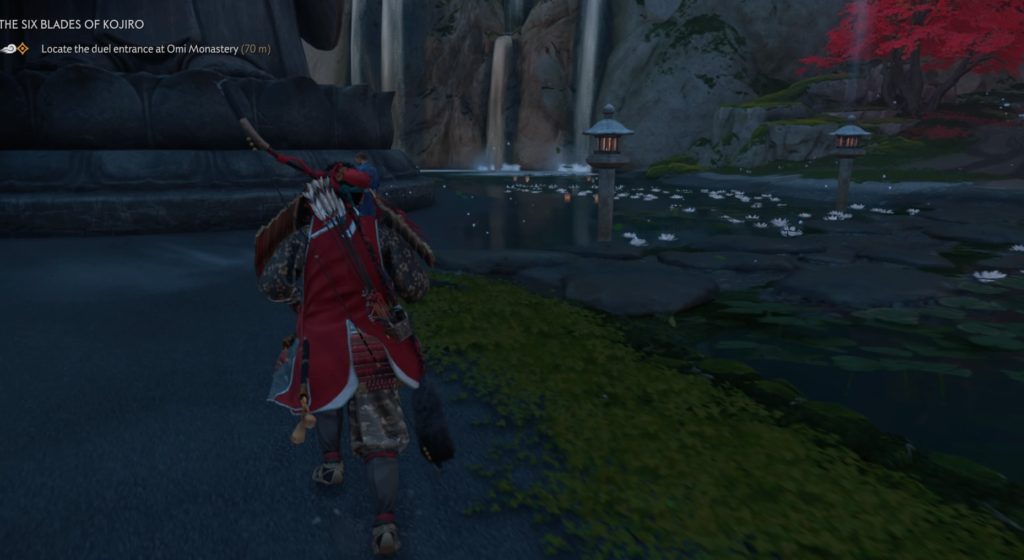
The duel entrance at Omi Monastery is across the river, past the red trees, and in a small cave down the leftwards path.
Here, you’ll face the fast and powerful Kojiro, who’s wearing the Kensei Armour.
Tips for the Duel on the Mirror of Sacred Light
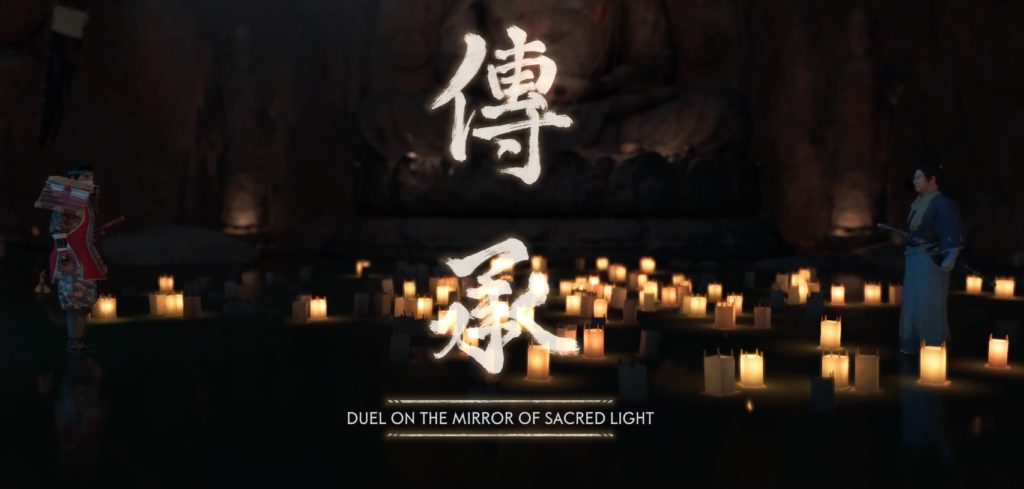
As the final duel of the six-duel Mythic Tale, Kojiro puts up a substantial challenge and is a constant threat through to their very last scrap of health.
Here are some tips for taking on Kojiro in the Duel on the Mirror of Sacred Light:
- First of all, Kojiro will invariably start the duel with a hefty orange-tinted attack, so be ready to dodge from the get-go.
- There are many unblockable attacks to look out for, including:
- The power-up low swing which transitions into a blue-tint attack;
- The sword being held low, a small pause, and then a surge across the duelling circle;
- The attack from sheathed which is followed by another unblockable attack, and then sometimes another;
- The high hold of the sword which is followed by a charge and two orange-tinted attacks.
- It’s best to always double dodge to the side when Kojiro shows an unblockable move as the attacks see the swordsman fly across the battleground and are often in a sequence.
- Only ever attack with heavy attacks. If there’s an opening, hit with three heavy attacks and then get some distance.
- The best time to start a short combo is just after Kojiro has finished an orange-tinted set of moves as they cool down for a brief spell.
- If you’re low on resolve and health, make a lot of distance and keep dodging until Kojiro comes in with a blue-tinted move, at which point you can parry, regain resolve, and heal. You’ll need to be very disciplined and quick to dodge.
Once Kojiro is down and the Kensei Armour is yours, take a breather—or try solving the mysterious Frog Statues puzzle at Mending Rock Shrine next.
Kensei Armour: Stats and Upgrade Costs
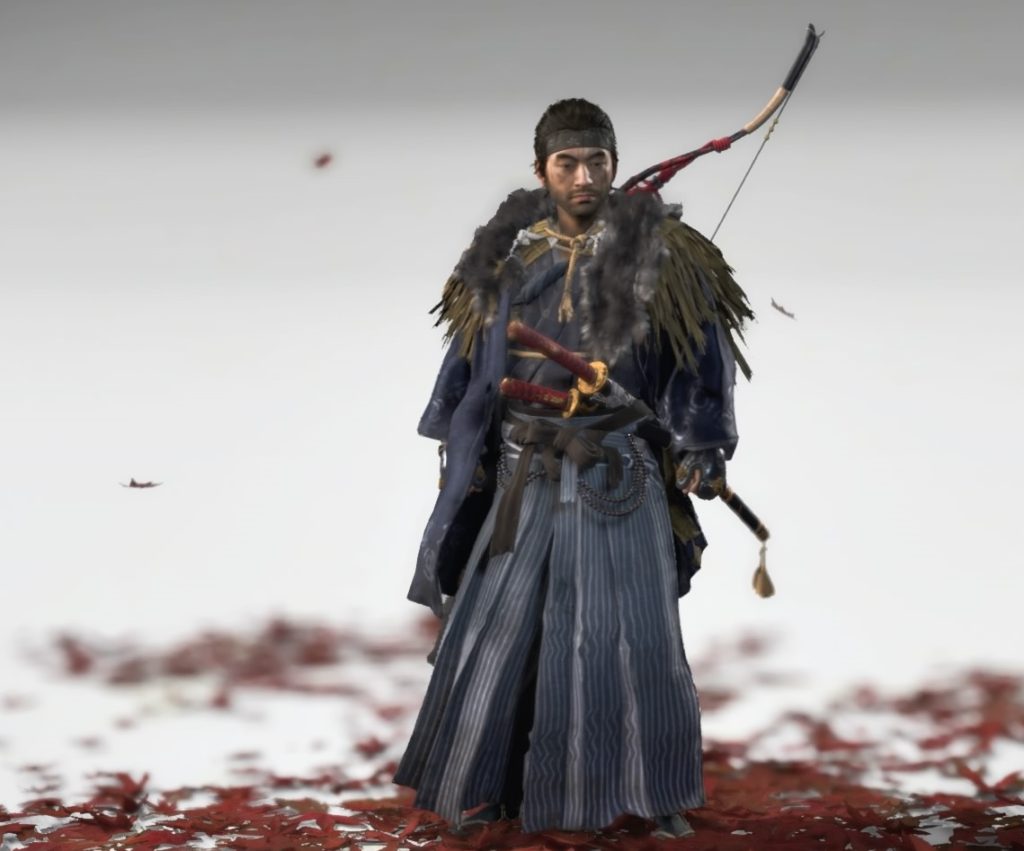
For defeating Kojiro, you will receive the mythic armour known as the ‘Kensei Armour’ as well as the purely cosmetic Kensei Headband.
The Kensei Armour offers increases to your resolve gains and grants you more damage when you use your Ghost Weapons.
Here’re the perks for each upgrade level of the Kensei Armour, as well as how much it costs to upgrade:
- Kensei Armour I:15% increase to resolve gains; Ghost Weapons deal 15% more damage; Striking an enemy with a Ghost Weapon causes that enemy to deal 25% less damage and receive 25% more damage.
- Kensei Armour II: 30% increase to resolve gains; Ghost Weapons deal 15% more damage; Striking an enemy with a Ghost Weapon causes that enemy to deal 25% less damage and receive 25% more damage. (To Upgrade: 250 Supplies, 10 Linen)
- Kensei Armour III: 30% increase to resolve gains; Ghost Weapons deal 30% more damage; Striking an enemy with a Ghost Weapon causes that enemy to deal 25% less damage and receive 25% more damage. (To Upgrade: 500 Supplies, 20 Linen, 10 Leather)
- Kensei Armour IV: 30% increase to resolve gains; Ghost Weapons deal 30% more damage; Striking an enemy with a Ghost Weapon causes that enemy to deal 50% less damage and receive 50% more damage. (To Upgrade: 750 Supplies, 30 Linen, 20 Leather, 6 Silk)
Having completed The Six Blades of Kojiro Mythic Tale, you now have the demon-blessed Kensei Armour set.
For another emotionally charged Mythic Tale, The Spirit of Yarikawa’s Vengeance pushes Jin’s legend to its limits and uncovers some of the island’s darkest folklore.
Looking for more Ghost of Tsushima guides?
Ghost of Tsushima Complete Advanced Controls Guide for PS4
Ghost of Tsushima: Track Jinroku, The Other Side of Honour Guide
Ghost of Tsushima: Find Violets Locations, Legend of Tadayori Guide
Ghost of Tsushima: Follow the Blue Flowers, Curse of Uchitsune Guide
Ghost of Tsushima: The Frog Statues, Mending Rock Shrine Guide
Ghost of Tsushima: Search the Camp for Signs of Tomoe, The Terror of Otsuna Guide
Ghost of Tsushima: Which Way to Ascend Mt Jogaku, The Undying Flame Guide
Ghost of Tsushima: Find the White Smoke, The Spirit of Yarikawa’s Vengeance Guide
FAQ: Locate the Straw Hat Assassins in Toyotama
How do you start The Six Blades of Kojiro to locate the Straw Hat Assassins in Toyotama?
You can begin The Six Blades of Kojiro Mythic Tale after reaching Act II of Ghost of Tsushima. Speak to the musician in Umugi Cove to trigger the quest. He’ll explain that Kojiro has summoned you to a duel, but only after you’ve defeated his five Straw Hat assassins scattered across Toyotama.
Why doesn’t the guiding wind work for “Locate the Straw Hat Assassins in Toyotama”?
The game gives you a general objective—“Locate the Straw Hat Assassins in Toyotama”—but does not mark individual duel locations. This is intentional. Players must explore Toyotama to find the five duel sites on their own.
Where exactly are the Straw Hat Assassin duels located?
The five duels are:
Among the Spider Lilies (north of Lady Sanjo’s Bridge)
In the Drowning Marsh (south of Old Kanazawa Marsh)
Of Crashing Waves (north of Urashima’s Village)
Under Falling Water (north of Musashi Coast)
Under Autumn Leaves (in the red-leafed garden along the east coast)
What should you upgrade before fighting the Straw Hat Assassins?
Upgrading Deflection (to Resolved Parry) and Stone Stance is highly recommended. These upgrades increase stagger damage and improve your ability to regain resolve, both of which are essential for surviving the intense one-on-one duels.
What do you get for defeating Kojiro after locating the Straw Hat Assassins in Toyotama?
Beating all five Straw Hat Assassins unlocks the final duel with Kojiro at Omi Monastery. Defeating Kojiro rewards you with the Kensei Armour, which enhances Ghost Weapon damage and resolve gains, making it one of the most powerful armor sets in the game.